• Welcome to PiBoSo Official Forum. Please login or sign up.
 
April 23, 2024, 09:22:07 PM

Show posts

This section allows you to view all posts made by this member. Note that you can only see posts made in areas you currently have access to.

Messages - Grooveski

541
Tracks / Re: [GPBikes](WIP) Kirkistown Race Circuit
March 17, 2015, 10:45:45 PM
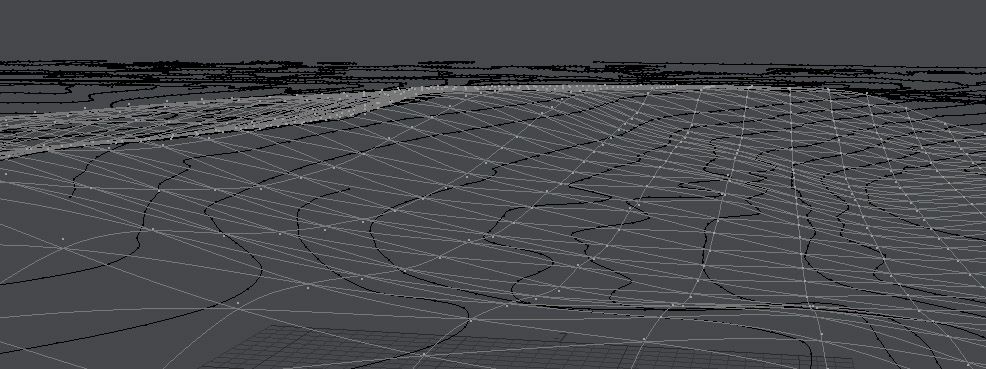
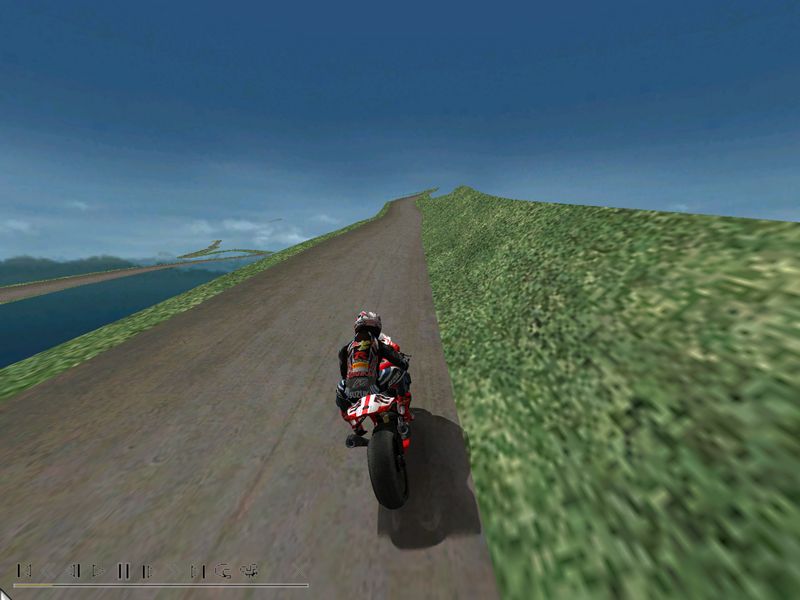
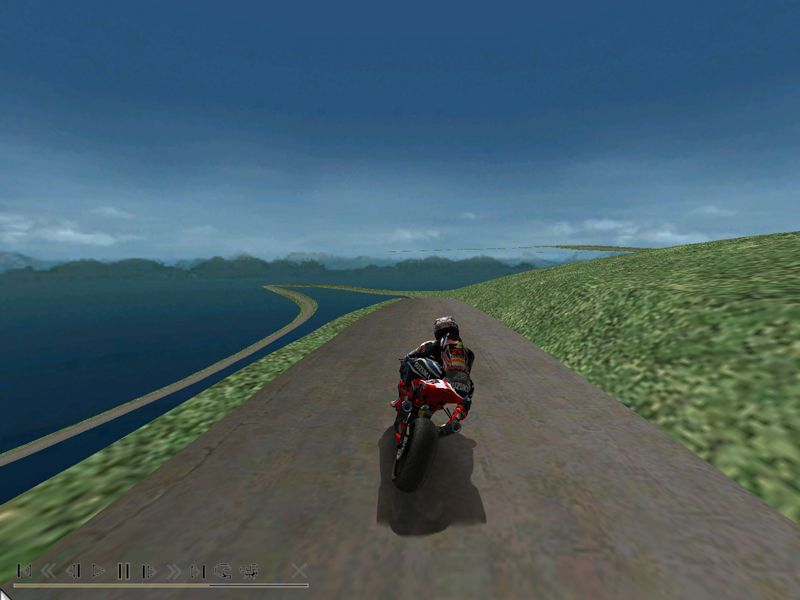
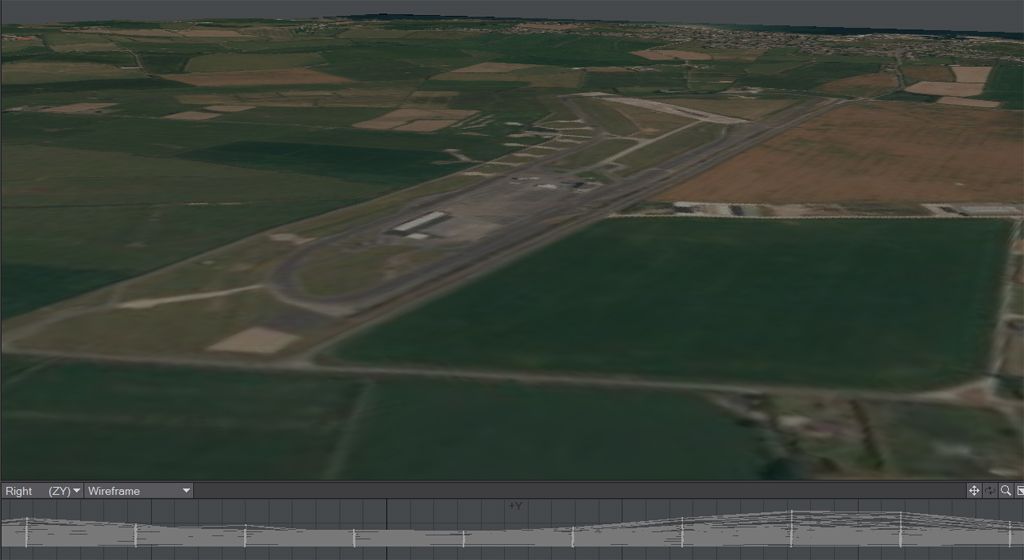
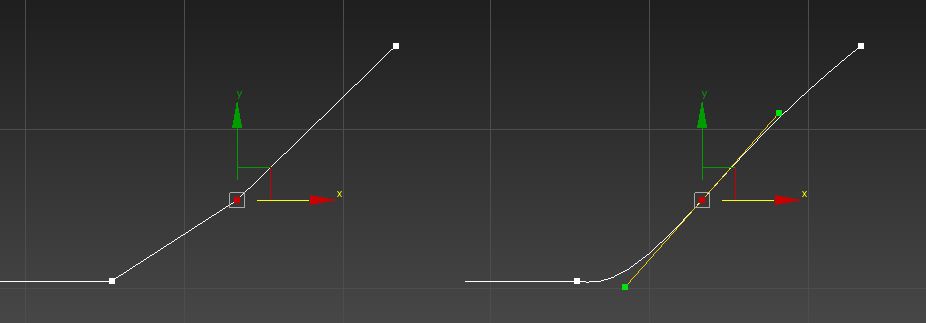
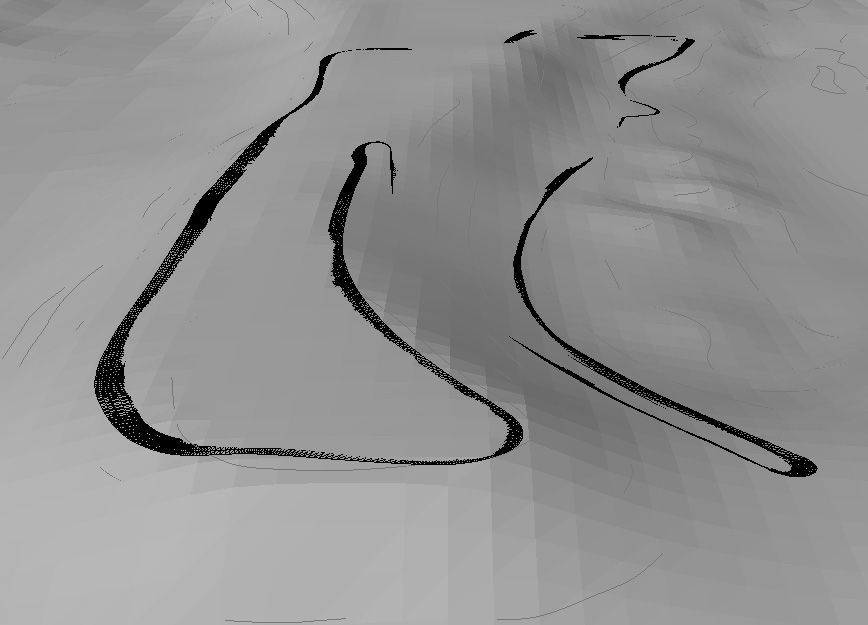
Increasing the resolution of the curve should do it.  DefResolU at the top of the Curve and Surface panel - it's 6 as default - try upping it to 12.
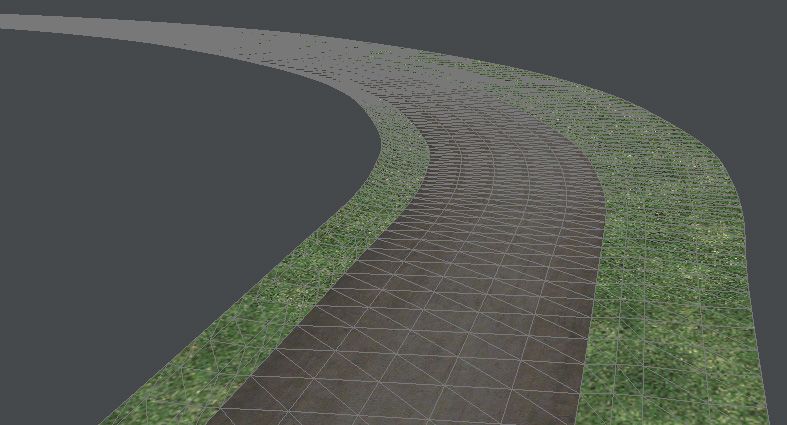
Doing that, making 2 models and taking the straights from one and the corners from the other is probably your best bet.

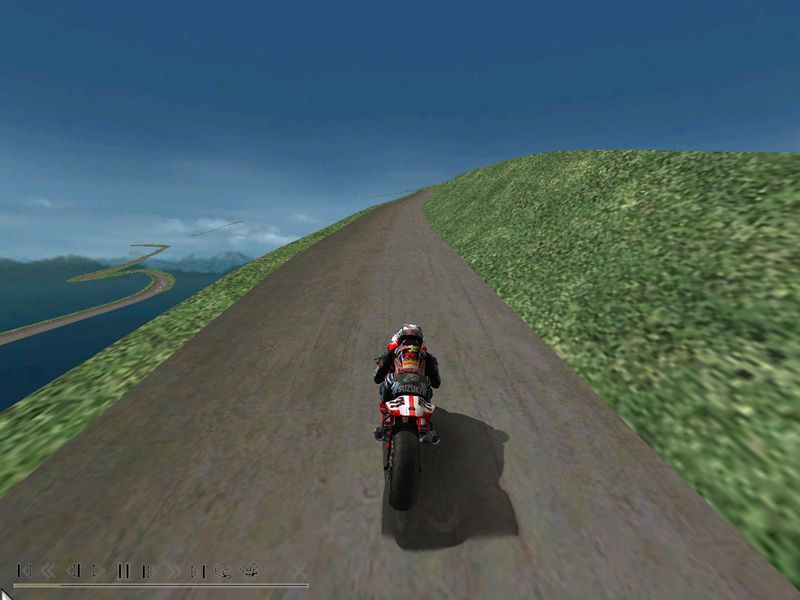
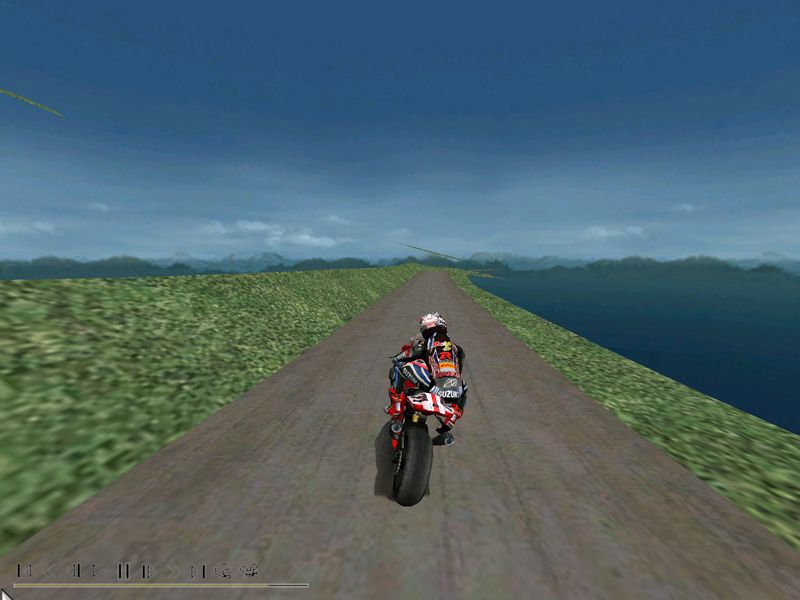
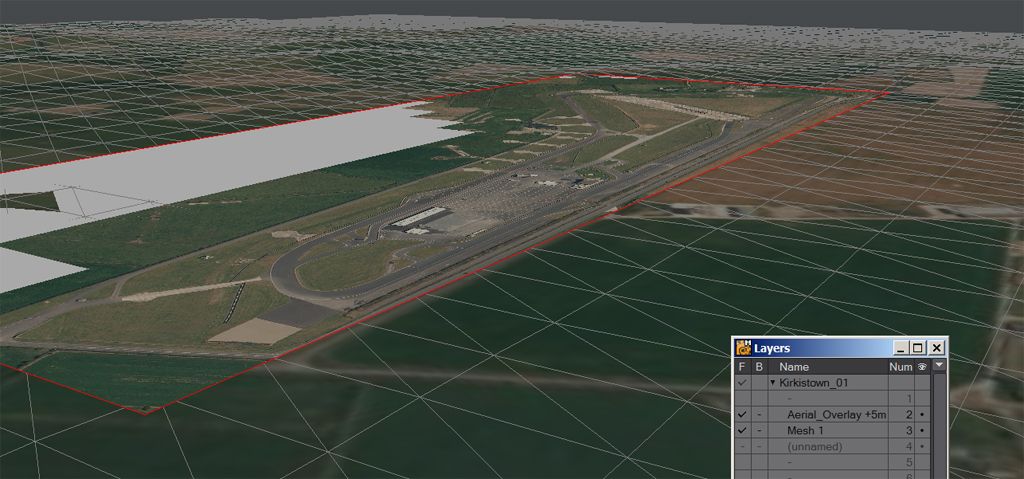
The other option is to subdivide parts of the model you've already made...
Mesh » Edges » Subdivide, Specials » Subdivide/Subdivide Smooth
...but that will increase the poly count in both directions so you'll end up with two strips of road and will have to either go round merging the poly pairs or just live with the track having a slightly higher poly count than it should.
542
Tracks / Re: [GPBikes](WIP) Kirkistown Race Circuit
March 13, 2015, 11:12:11 PM
Came across this which looks pretty handy.  Autodesk's own convertor.  Imports various file types and exports 2012 fbx.
http://usa.autodesk.com/adsk/servlet/pc/item?siteID=123112&id=20481519
543
Tracks / Re: [GPBikes](WIP?) Kirkistown Race Circuit
March 13, 2015, 09:21:19 PM
Quote from: kmracing99 on March 13, 2015, 11:21:51 AM
will i just need to use 3ds max for exporting?

You could, or you could use the fbx convertor.

I'll probably be going with fbx myself.  LW supports v2012 among others and the more time I spend in max the less I want to spend there. 


Can't help you with which one it is that Blender uses.  Hawk might know, he was looking into which versions worked with the convertor.

544
Tracks / Re: Oliver's Mount
March 13, 2015, 08:37:18 PM
No worries, was just on the offchance.   ;)

Thought I'd take the track model for a spin and see how things were looking:


The last pic - Farm Bends - is the bit that needs the most work still.  It won't be right until the main road is in place.  I should have probably modeled it that way then added the chicane.  Should all work out in the end though.

Other than that it's getting pretty close.  After the spin I smoothed a few bumps and I'll be having another look at the jumps section along with Farm, some of the new embankments still need a bit of a tweak but on the whole...
....yeah, getting there.  :)

This version was pretty low poly, no real embankment detail and no road camber.  Can knock out a test conversion for GP500 in minutes but still haven't tried GPB yet. That's maybe this weekend's reading.
545
Tracks / Re: [GPBikes](WIP) Kirkistown Race Circuit
March 13, 2015, 05:40:27 PM
Looking good.  :)

More polys required through the corners though, your edgelines will be blocky as it is.
Up the extrusion settings until the poly length on the inside of the corners is under a metre - that's around when edgelines start looking even.
At the tighter bits take it be down even further -  200mm or so.

If you make up multiple versions you could cut/paste together a final model from them.  The one you've done will do for the straights.

(Those suggested distances I gave the other night were only for the lofting method - The poly count would have been upped later.)

Might want to do the extrusions with extra segments on either side of the road as well.  Edgestrips that'll later become the kerbs where you need them.
546
Off Topic / Re: RIDE videogame
March 09, 2015, 04:37:12 PM
I can tell from one view of the trailer that it'll be a non-starter for me.
As pretty as the bikes are and even if I was willing to suffer Milestone's sad attempts at physics, what switches me off bike games instantly is when the bike's pivot point for chase view isn't at tyre level. ???  
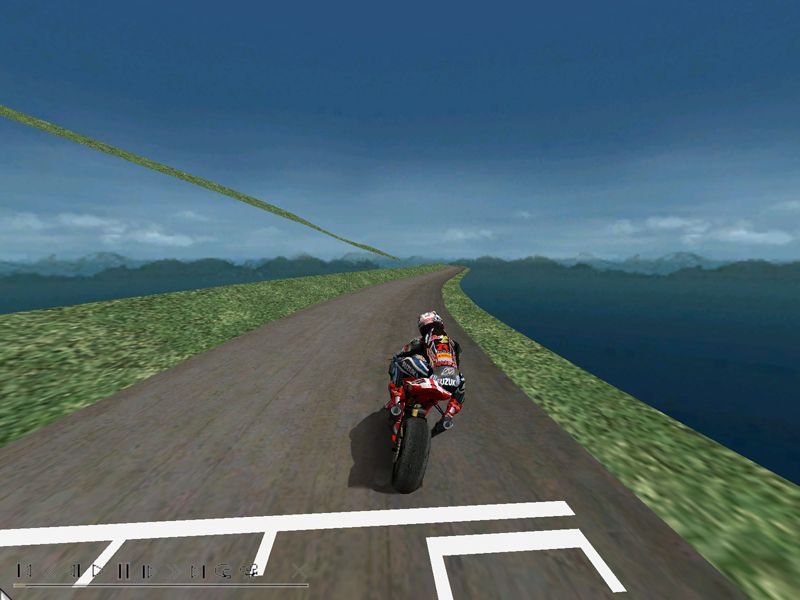
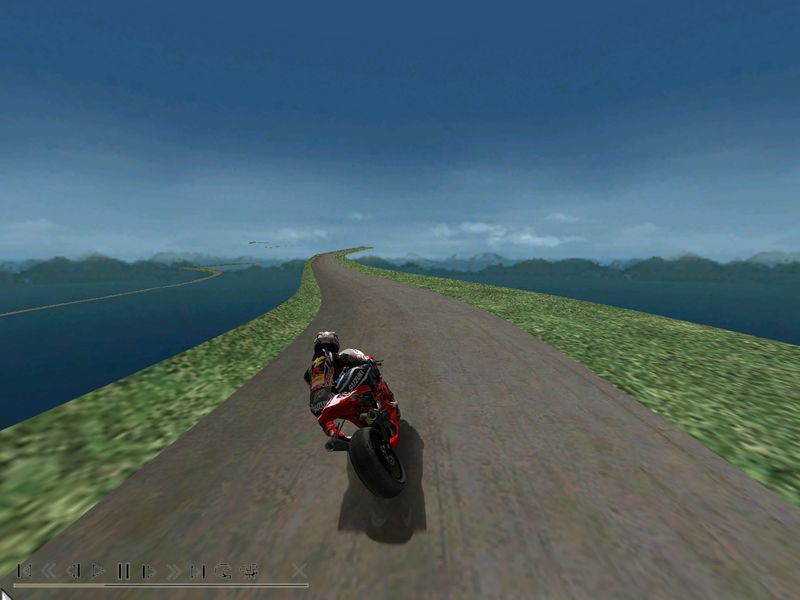
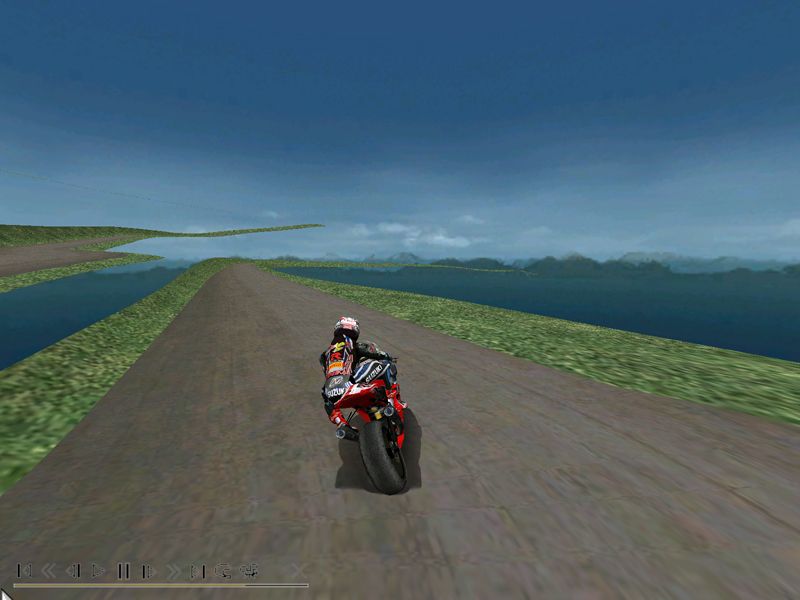
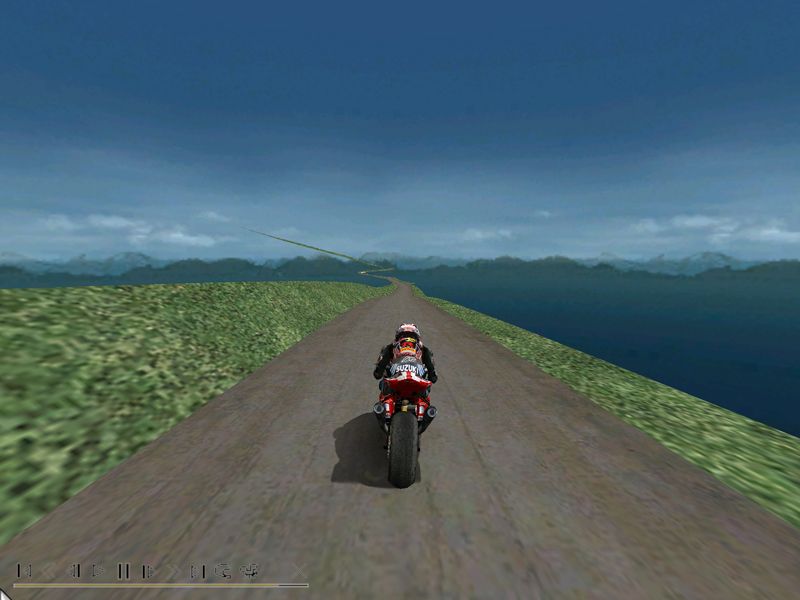
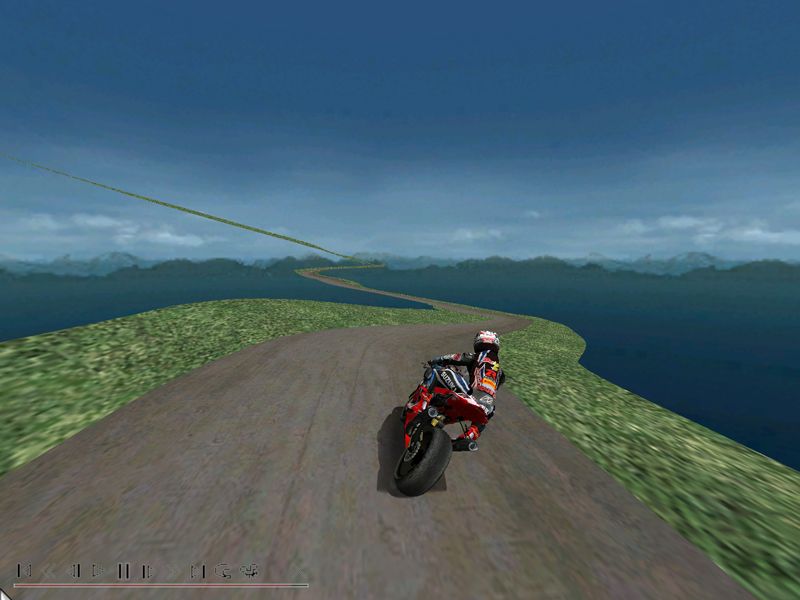
When it's up at the swingarm like that I find it hopelessly off-putting and always think my rear's washing out going into corners.   :-\
Road Rash 3D, GP500, TT Superbikes, GPBikes.....  Plenty of other folk were able to get such a fundamental part of the game visual right, how milestone have got away with getting it wrong all these years I'll never know.
547
Tracks / Re: [GPBikes](WIP?) Kirkistown Race Circuit
March 09, 2015, 03:46:07 PM
90% of the work can be done in any modeler.  If you've already got to grips with Blender you'll still be able to do most things in it.  Chopping up the landscape, merging it with the track area, making buildings and TSOs(trackside objects), walls, fences, trees, final assembly.

Where max really shines is the loft tool.  It's more powerful than blender's extrude or lightwave's skin tools. 
The way max's loft handles things is perfect for track modeling.  You can control plan, elevations and curves easily using a spline, vary track width/camber and build in track edge detail and kerbs as you go, vary detail and poly count at the flick of a switch...
It's worth learning a bit of max just for the one tool.  When you have the road made you can export it to any program you like to trim/fit the land and finish things off.

Had a look around last night for data.  Was finding some good stuff so put together a base model to help get you going.
Click to download.

There's a terrain model.  SRTM data with a game resolution aerial photo mapped onto it...


...and I pieced together the highest rez aerial I could.  It's meant as a background image for a modeling package but for the moment I've added it as a model, scaled it to fit and just sat it over the terrain.  At very least it'll help folk line it up as a background.


The image is easily good enough for modeling reference.  Probably good enough to chop up later and skin a few bits with too.


So yeah, there you go, have fun.
Any problems, just shout out.  Like Hawk I'm kind of busy with other things but will help out when I can.
(...also similar in that I don't really use max either(LW here)} but watch a few youtube vids on the loft modifier and you'll be laughing.  The hardest bit is getting to grips with all the new lingo - paths and shapes and steps, skins that aren't skins, etc.....

P.S
First stage in a loft is drawing a centreline spline just like for extrude in blender.  I'd guess this track would take about 150-200 points for the spline, spaced about 10-30m apart along straights and 3-6m apart through the corners. 
Points will be needed anywhere there's a bump(takes three to do a bump properly), anywhere there's a change of width in track and you should be thinking about the trackside areas while drawing the spline too - put points where the kerbs start and finish and it'll make life easy later, same for if the verge changes from grass to run-off or there's a side road, change in road surface or wiggle in the edgeline.  Try to take in all the prominent points along the track rather than just keeping the spacing even.
Still try to keep the spacing even though.  :)
The points can be dragged around later so don't worry at first about getting them exactly centred and positioned.  It all gets easier to see as you go along.   ;)
548
Tracks / Re: Oliver's Mount
March 07, 2015, 01:08:29 AM
Cheers guys.
For all it's a lot of work there's something entertaining about it. 

Sometimes modding's a chore(fixing unwelded models does my head in) but this is my first scratch build so I'm learning all the time.  Tonight's job was pretty good fun(and not just because of the homebrew).  With upping the target poly count I could afford to round off the verges a bit, it's just a mouse click and a quick tangent drag at each of the mid-verge points on the loft sections but it had an instant and rather satisfying effect on the model.


Was playing with poly counts while taking those grabs.  The first wireframe is around 25k(where I started for GP500), the next is up a couple of clicks on the path steps and one on the shape steps - that's the likely settings for the verge model and comes out at 56k.
Then the camber goes on.  I think 5 strips will to do(for less than an inch of camber on such a narrow track(and more importantly not a track where there's much spinning up and drifting going on)bringing the projected play area to 73k in all.  eek!


...which is only a bawhair over the guesstimate so I guess I shouldn't panic yet but it sure does look like an awful lot of polys.   ???


Worrying about poly counts is still a way away though.  Been round once for the verges and another to check the track widths(thanks again for the measurements nuovaic ;)).
Next time round is to add additional loft targets for bits where the verges have variances, then again to tweak the main spine where upping the path steps has highlightled slight kinks.
...and when I get to it I reckon Mount needs flattened and Mountside needs tightened a little still.
....and I still haven't even looked at Sheenes rise since butchering it's elevations the other night, it'll need a good rework.
....and all the while feeling guilty because really I should really be prepping TSOs.  Wouldn't want my shiny new skinner getting impatient. ;D

:)

P.S. BOBR6, you haven't on the offchance noticed a good pic that shows one of the corner boards have you?  They're at all the hairpins and the onboard views are all blurry, could do with seeing something we could guess a font from.
549
Tracks / Re: Oliver's Mount
March 03, 2015, 08:29:19 PM
Quick update:

Land matched to contours and track loft matched to land.
Was (mostly) able to tweak the loft elevations in long stretches so as not to affect the bumps built into it.  Was slightly off all over, just by a degree or so here and there apart from Sheen's Rise which as expected was a mile out.


So that's the two main models pretty close.  Much happier now with the gradients.  The hairpins have been reworked and I've started going round adjusting the verges and rechecking the road.
Once the verges are done the land model will get some final adjustments to fit.  (There are also bits I had to deform for the subpatch - they've still to be leveled again.)


Skins are starting to magically appear in my email.  :D  
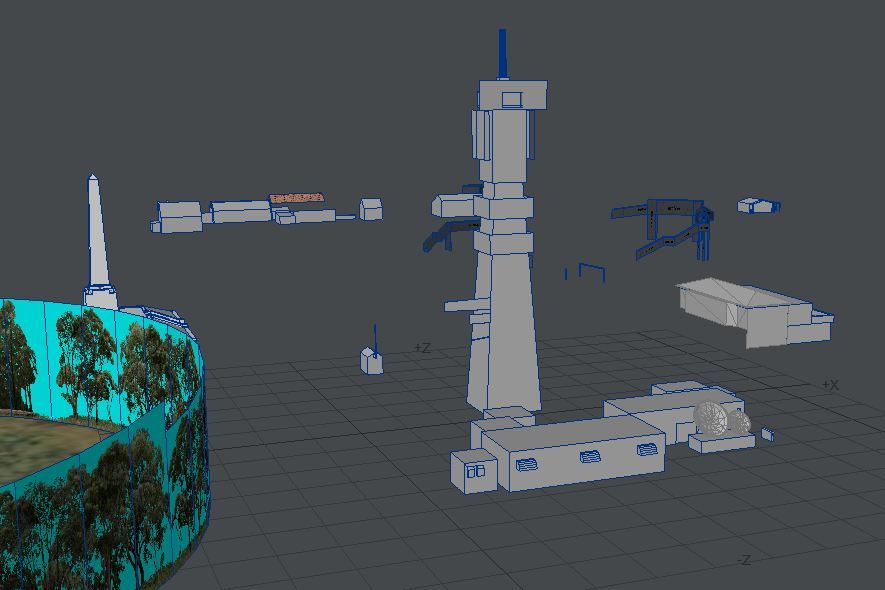
Have to say it's nice not to feel like it's a one man show any more.  Knowing someone else is out there working away encourages me to get on with it too.
The first real skin(wip) went on Bridge 3 and the model got fleshed out a bit.

550
Tracks / Re: Oliver's Mount
February 21, 2015, 07:18:13 PM
The ring is wearing a group of four textures that are good for distant field edges.  I only applied them so I can copy that part to the land model and those surfaces will be taken over with it. (then I'll just delete the ring)
While I had the monument aerial to scale as a background it made sense to sketch out the old reservoir diameter.  Was bored of brick units, one thing led to another and the first trees were planted.    ;D
The first of many.  Quarter of a million polys is a hefty budget for greenery and yeah, I know what you mean.   ;)

That plot is for sale at the moment.  Handy - couple of pics of the treeline from the inside.
http://www.zoopla.co.uk/for-sale/commercial/details/33204955

That's great to hear matty, cheers.  :)
551
Tracks / Re: Oliver's Mount
February 21, 2015, 05:13:29 PM
Quote from: Grooveski on February 01, 2015, 07:57:58 PM
Have a play with opening the eps versions.  You have to specify your canvas size in pixels when you open it.
EPS is the best format for templates.  A crisp line on a transparent background at any resolution.  Very usable. 

Quote from: Grooveski on February 02, 2015, 07:19:35 PMIf you deform images to squeeze them into bits of template they'll go into the game and the game will just deform them back out again.  It's probably not going to be very noticable if it's just a tiny amount but it's not doing any good and is a bit pointless, more work for you and anyone who may want to change things later.
Better for you to lay the parts roughly into place on the template and send it back saying "adjust UV".  I'll then load what you've sent into the background of the UV window and drag the parts and points around until the UVmap fits the skin.

;)

If you want to try adjusting the UV yourself it wouldnt take me long to talk you through it.  Modeler can look a bit daunting if you're not used to 3d programs but adjusting an existing UV map ain't like blowing up planets.   It's making the maps in the first place that's a footer, tweaking them is a doddle - you're just dragging points around.

Had a decent go at the TSOs last night.  That's the base models for all the nearby buildings about ready for UVing...


...and a variety of clutter models sourced that can be tweaked to suit(benches, bins and the likes).
Had a eureka moment in the tree texture hunt.  Golf games!  :D

Have started adding some of the repeating textures and trying out environmental maps on them.  Liking what I'm seeing.  Wouldn't be surprised if we end up with low-res spec maps for everything, norm maps for everything closeby and I'll be hustling the bike modders for the best way to deal with glass(there'll be a reflection map involved no doubt but whether it's applied to a transparent bmp or alpha'd tga... ?
...my money's on the latter).

Downloaded a couple of the max track models from the mega site and it looks like pure black is GPBs bitmap transparency colour(so don't use rgb 0,0,0 for anything else in the skins).

Also squeezed in a few laps of the A1Ring and didn't even fall off that often.  Hopefully by the time testing comes along I'll be able to do more than wobble out the pits and crash at the first hairpin.   :P

Oh - the pits.  Oliver's Mount uses a figure-of-eight pit arrangement that'd be pretty cool as you'd get to finish your last flying lap and could set a time on your cold tyre lap too.  I've no idea if GPB will allow that(cross line - enter/exit pits - cross line again  ??? ) so we may have to reverse the pit direction and go with a normal layout.
552
Tracks / Re: Oliver's Mount
February 19, 2015, 10:25:59 AM
The UV is already set up the way your asking for.  See how the one part of the template....


...is repeated five times over the top of the frame.
So have half a frame width along the top of that part and half along the bottom with the part just being a single strip of panels.   ;)


Once the skin's on I'll run a subpatch on the tube that'll round off the frame. 
Could have built it rounder in the first place but there would have been more polys to arrange in the UV map that way.

You'll find most of the skins on the models I give you are noted in one way or another so although you'll be using the eps templates it might be worth loading in the temp skin on a background layer just so you can see what goes where.  Last night after finishing up the monument model I painted on little coloured dots to check that everything was where it should be - I do that a lot. 
(...and if I've used text it's likely been to check that the parts were the right way round)


P.S.  Gotta thank nuovaic again for the photos.   ;D  What a difference it makes having background images for modeler.
553
Tracks / Re: Oliver's Mount
February 17, 2015, 07:43:07 PM
Quote from: h106frp on February 15, 2015, 01:12:23 AM
Thanks to nouvaics excellent photos i have started to look for some textures, the control tower has had some dodgy paint jobs - should we leave 'as is' or touch them up?   It could do with a lick of paint to hide the old signwriting  ::) 
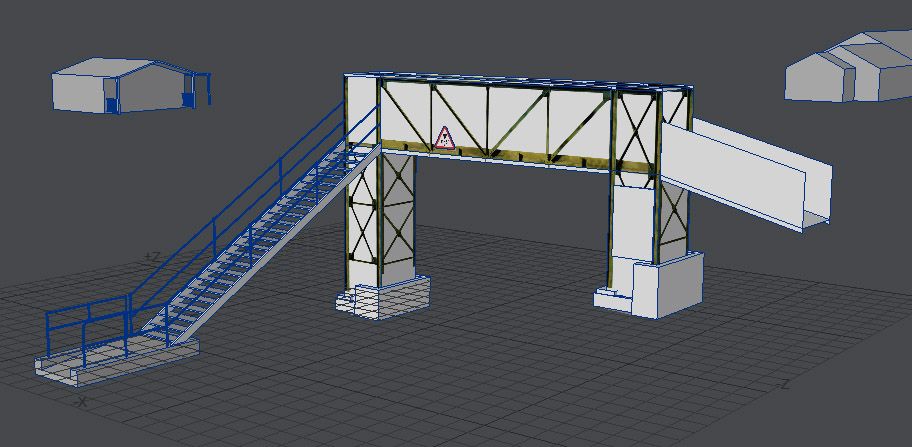
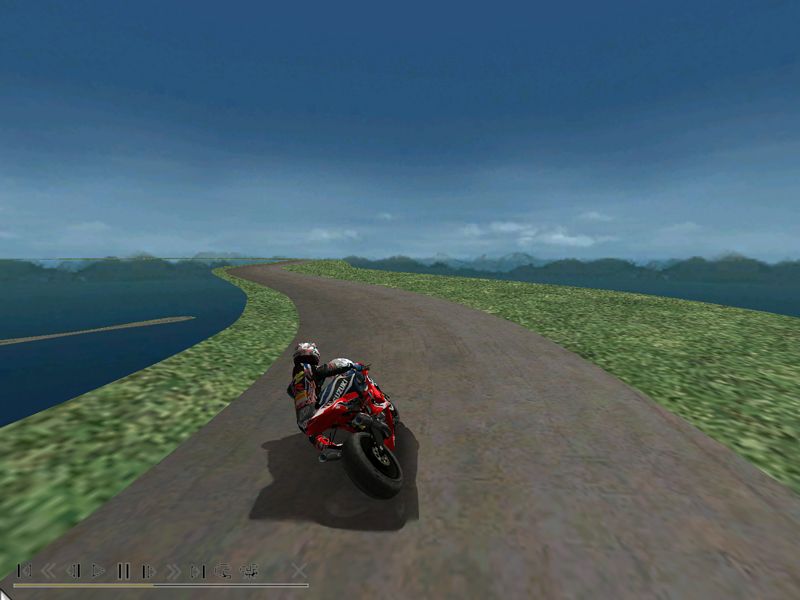
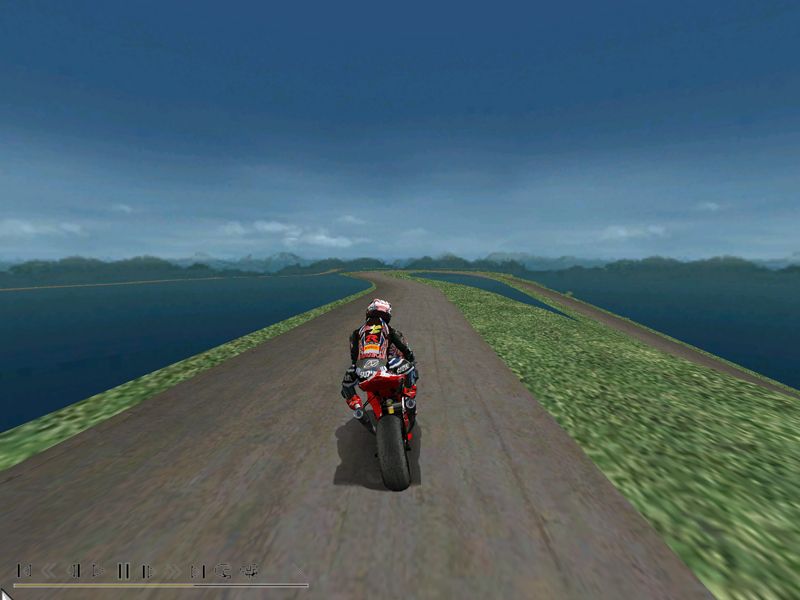
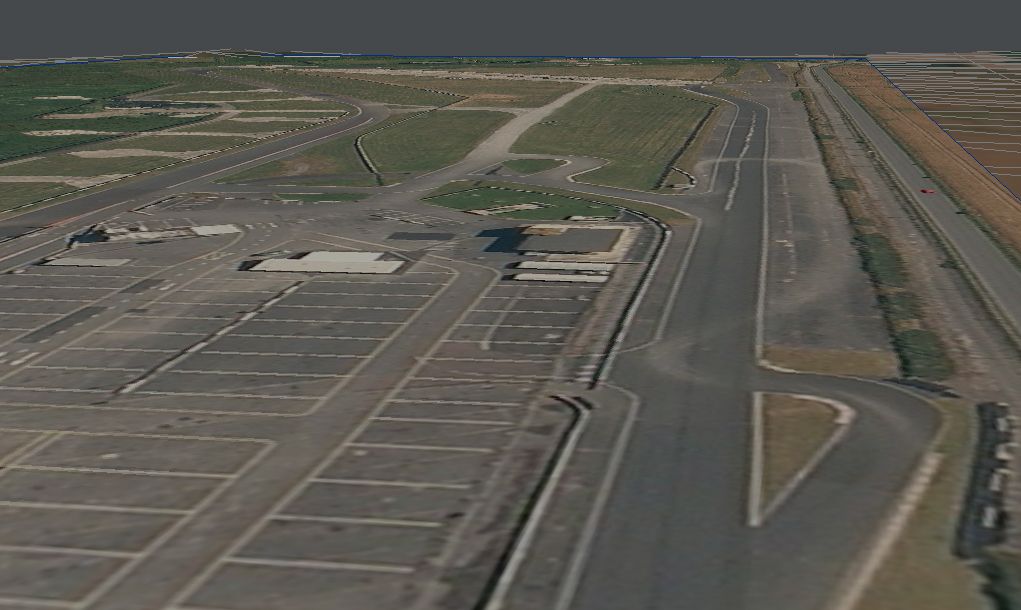
Personally quite like the rustic look  :) Left image is front, right image is podium side

How are you going to handle the tree details? The detail is great, and trees like this run along many of the embankments, must be a way to get them to look good :) This one is right on the track edge. I have seen the 2 planes at right angle tree model, but i am not sure it would work for these...

Rustic's fine by me - or tart it up - whichever you prefer.

I've been having a play with the tree growing program and starting to put together a bit of a model library. Looks like a decent looking game model for a single large tree is about 4-5k polys.

I don't know what the GPB engine will push but reckon 500k for the whole model sounds like a nice round number.  That's 4 times what GP500 can handle and just under F1 2012's kinda count(F1 runs a 3d crowd as well on top of that).

So 50k for the land, maybe 70k or so for the play area, 30k for fences and another 100k for buildings and clutter.
....still leaves half the budget for trees and hedges. 
Say we give 50k to hedges and 200k to trees, of which 50k are low poly (2,4,6 and 8 plane) and 150k high poly.
That's 30 trees worth.
Which sounds about right.  Skyrim is probably pushing that in the immediate vicinity before it LODs down.

Which begs the question - Does GPB handle scenery LOD models?  Perhaps I'm underestimating how much detail we can throw at it.

...but yeah, to start with we'll make up 30 of the most prominant trees and stick to low poly for the rest(if we end up going mental we'll need low poly ones there anyway).  Should be able to lift bark textures from nuovaic's photos and at the bases could perhaps join the trunk to the verge, skin that section in the photo, zbrush a little detail into the model then tweak the UV to stretch the usable bit of image round the roots.  It's a bit of a cheat, might do the job though.

I'll be honest, the trees seem a long way off yet.

Gathered up a nice selection of fence models while rummaging for trees.  Have also progressed the land model, it's near time to introduce it to the loft.   :)
554
Tracks / Re: [GPBikes][WIP] Ulster GP
February 15, 2015, 07:25:16 PM
Quote from: h106frp on February 15, 2015, 06:13:49 PM
Just looking in my folders, the GP500 track is credited to Grooveski and...

There should be a GP500Form.txt stating that it's a conversion and the original GPL readme.txt with Jim's copywrite statement.
Easy for files to go missing but that's what it was released with.  None of it is mine to give away.
555
Tracks / Re: Oliver's Mount
February 12, 2015, 01:07:16 PM
Progress has been slow.  I scrapped the above model as well just after posting that pic.  Discovered than the Land-Form dataset has been recently replaced by Terrain 50 data which claims to be accurate in height to 0.1m rather than 1m for the landform.
...so another download then had to find a way of converting the new data to a usable model, blah, blah, took a while, blah...
...and back on track with Land_V3.  :)

Lined up the three versions of the aerial photo, chopped the model along the image edges and remapped them as planer UVs.


So now the image resolution drops off as the distance increases - a simple mip-mapping arrangement.


Cut out the area of interest...


...and that's pretty much where I am at present - flipping in and out of subpatch mode while fine tuning the model to the contours(which are still the most accurate data I have).  The new model may be closer than the others but it's still only a 50m grid so there are spots where the gap between points misses detail completely(like up at the monument where the plateau and drop-off are nowhere near the contours).


Once it's a match I'll freeze the subpatch and it'll be all smooth and shiny.


That(and the contours) will then go in as references for reworking the loft.  May seem like a lot of work for just a land model but the closer the better for pointing out which bits of the road I've got the heights wrong on.

P.S.  Everything will get selective poly reduction later in the build.  At the moment the land model is 200k polys but will probably end up around 40-50k(maybe even smaller, still don't know what GPB's draw distance is).